Payment tags can be created to help organize and report on your shop's product sales. To see a list of all active payment tags that have been added to your account, visit Payment Tags from your TRYTN account.
This article covers the following topics:
Related Articles:
Add Payment Tags
You can view a list of all active payment tags for your shop by navigating to Settings > Payment Tags.
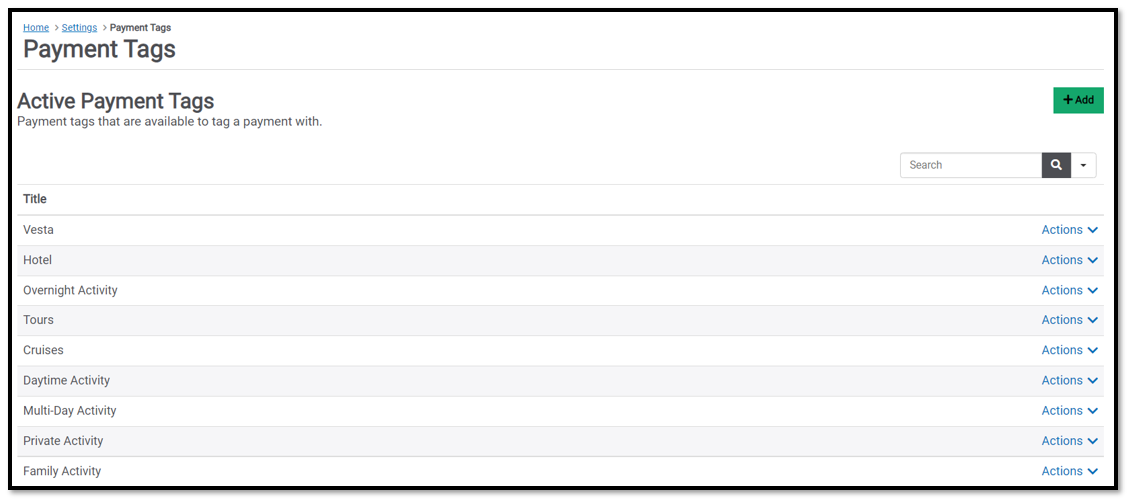
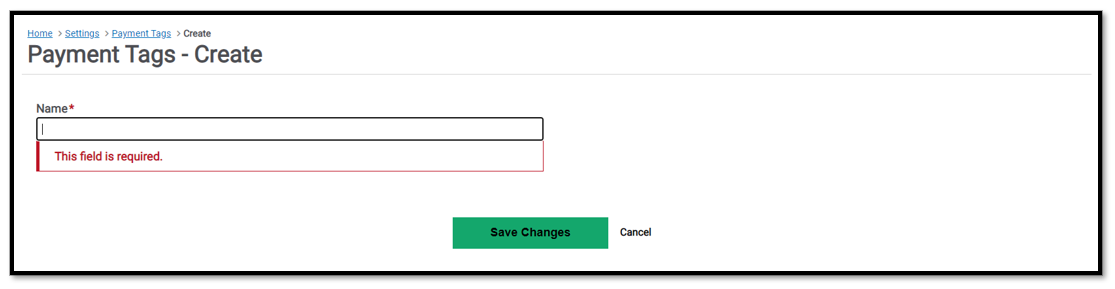
To create a new payment tag, click on the green +Add button on this page to navigate to Payment Tags - Create.

From here, simply enter a descriptive name for your new tag in the Name field and click Save Changes.
Once saved, the new payment tag can be added to your transactions. For help adding a payment tag to a transaction, see the article Enter a New Transaction.
Edit Payment Tags
To modify an existing payment tag, navigate to Settings > Payment Tags from your TRYTN account. Locate the payment tag you wish to edit from either the Active Payment Tags or Archived Payment Tags table.

For Archived Payment Tags:
You must click Actions > Restore to make the payment tag active before you will be able to make edits.

Once your payment tag is in the Active Payment Tags list:
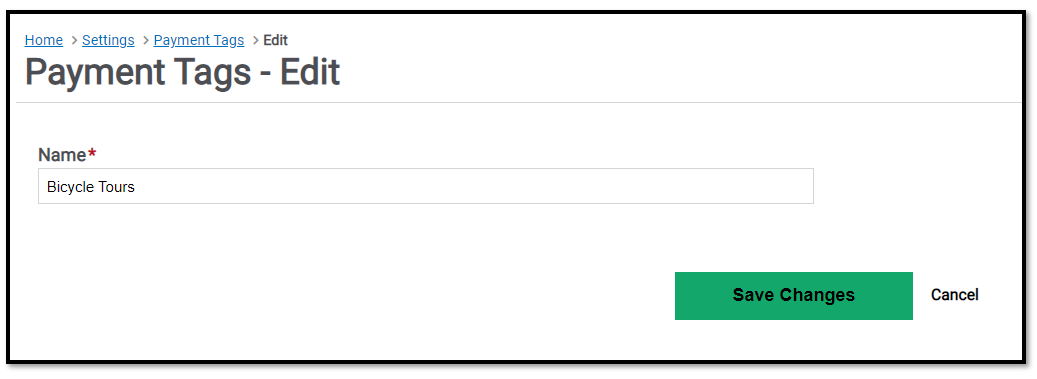
Select Edit from the Actions menu. You will then see the edit screen where you can update the name of your payment tag. Once you complete your edits, simply click Save Changes and your payment tag will be available for use on shop products.

Archive Payment Tags
To archive an existing payment tag, log into your TRYTN account and navigate to Settings > Payment Tags. Find the payment tag you wish to archive from the Active Payment Tags table and select Archive from the Actions menu. The payment tag will then be removed from the active section and placed into the archived section on this page. The payment tag will no longer be available for use on shop products.

Restore Archived Payment Tags
To restore an archived payment tag, log into your TRYTN account and navigate to Settings > Payment Tags. Find the payment tag you wish to restore from the Archived Payment Tags table and select Actions > Restore to make the payment tag active to reactivate it and/or make edits to the tag name.